Photo:
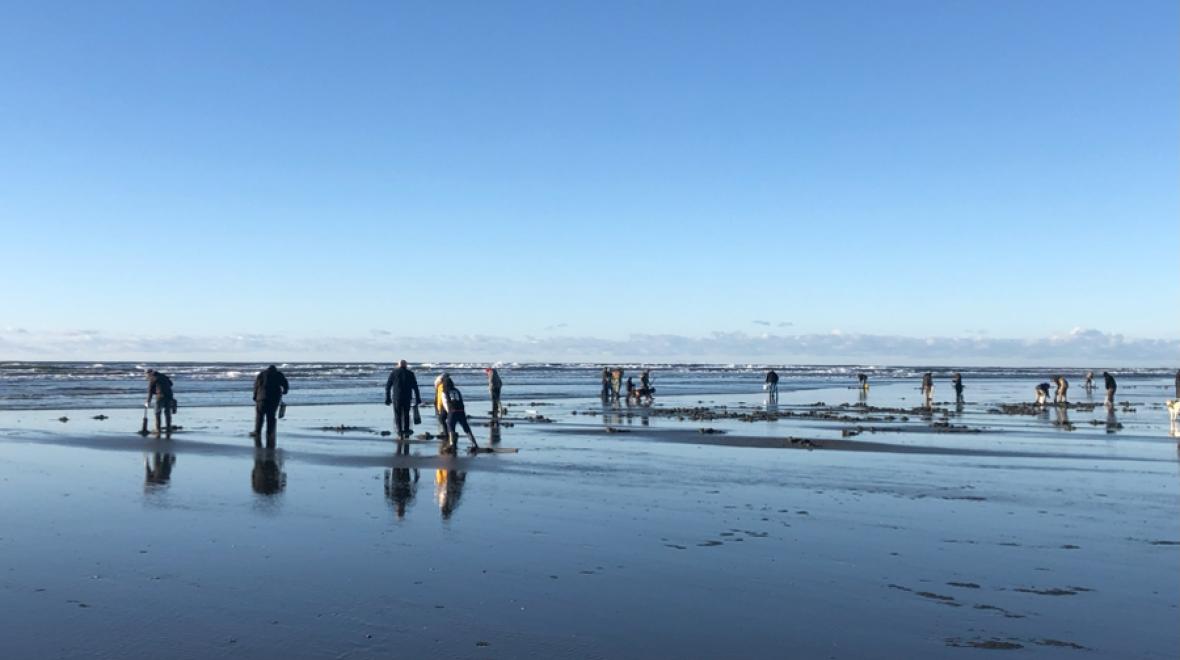
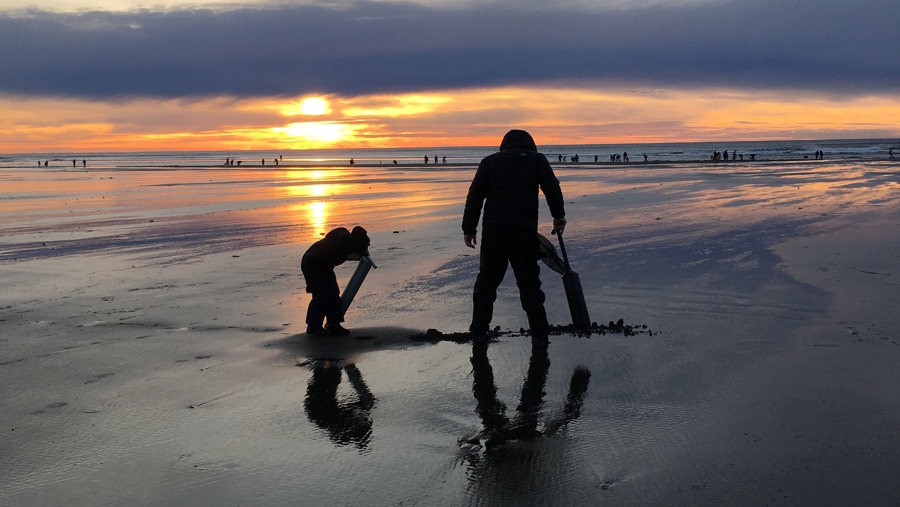
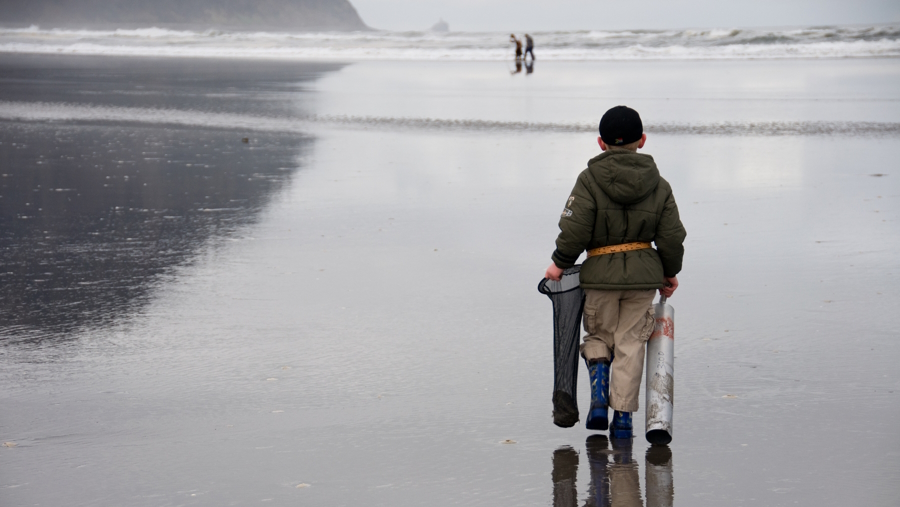
Clamming is a popular family activity on many Washington beaches. Photo credit: Lindsey Carter
Digging for clams on cold, wet spring days didn’t sound alluring to me. But after hearing how much my husband and daughters enjoyed their forays, I finally joined them a few years ago.
There is something positively magical about this iconic Pacific Northwest hobby.
Even if the rain is spitting down from the sky and blanketing my face, I forget about getting wet within minutes of stepping onto the beach. My husband and oldest daughter find a good digging spot while my younger daughter and I explore the habitat.
Digging clams is easier than I thought possible, and on most outings, we have our limits within 30–45 minutes. This means that even on the wettest day, the rain doesn’t matter for at least an hour or two; my whole family takes time to examine and watch the wild world. And dinner that night is centered on our harvest of delicious clams.
Read on to learn the basics of this endeavor and the best beaches for clamming.
We’ve also included a section on razor clamming on the Washington coast. It requires a longer trek to partake in this type of clamming, but a razor clam dig is truly fun, taking on the atmosphere of an outdoor festival, with clammers harvesting up and down the beach.
Clamming basics: What to pack
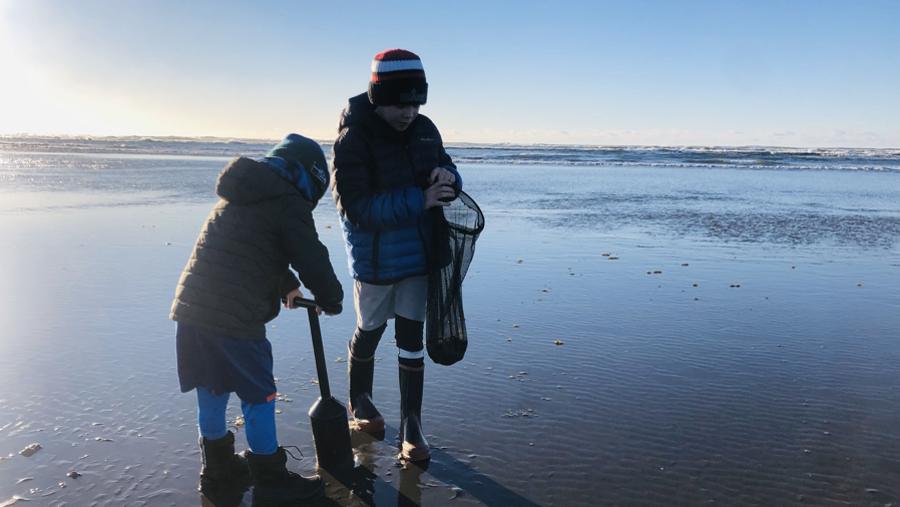
Put together a clamming day kit that you keep in your car, suggests Camille Speck, a Washington Department of Fish and Wildlife (WDFW) shellfish biologist who works out of the department’s Port Townsend office.
License: The most important item is a shellfish/seaweed license that is good from April 1 to March 31 of the following year. Or you can buy a short-term one-, two- or three-day license. The easiest way to purchase one is online; you can print out a temporary pass, and your real pass will be mailed to you. Children younger than the age of 14 do not need a license. (Catch record cards are still required for certain species; see the regulations online for additional information.)
Tools: For digging steamer clams, bring simple small garden tools, including a rake and a trowel. Most clams are not far under the surface. For example, steamer clams are 2–4 inches down. If you are after butter or horse clams, which are found at deeper levels, you will need a shovel. Rubber-dipped gardening gloves won’t keep your hands dry, but they will keep them cleaner and protect your hands from glass and other small impediments. Throw in a roll of toilet paper for beaches without facilities. You’ll need a 5-gallon bucket with a tight-fitting lid to bring home your clams. Each person’s limit must be kept separate from the others, so you’ll need a bag for each harvester; the bag is also helpful for rinsing clams of sand and grit. Speck recommends using mesh bags such as the ones that bunches of lemons and pounds of potatoes are stored in at supermarkets.
Pick up plastic clam, shrimp and crab gauges, which are cheap and sold at most sporting goods stores. You’ll need a scale that hooks onto a bucket (also sold at most sporting goods stores) for larger clams (like butter and cockle clams) since you will exceed the 10-pound weight limit before you dig up 40 clams.
Tide charts: Most importantly, know the time of the low tide for your clamming beach. Look online for tide charts or pick up a Puget Sound tide guide or calendar at any sporting goods or marine supply store. You have about a four-hour window around this tide. The best steamer clamming tides are between a tide height of 0.0 and -1.5. There is no need to wait for the lowest tides of the year to gather steamer clams.
Boots and clothes: Lastly, but perhaps most importantly, pack rubber boots. I always pack complete changes of clothes for myself and my daughters, and we make use of the extra clothing about 50 percent of the time.
Clam digging 101
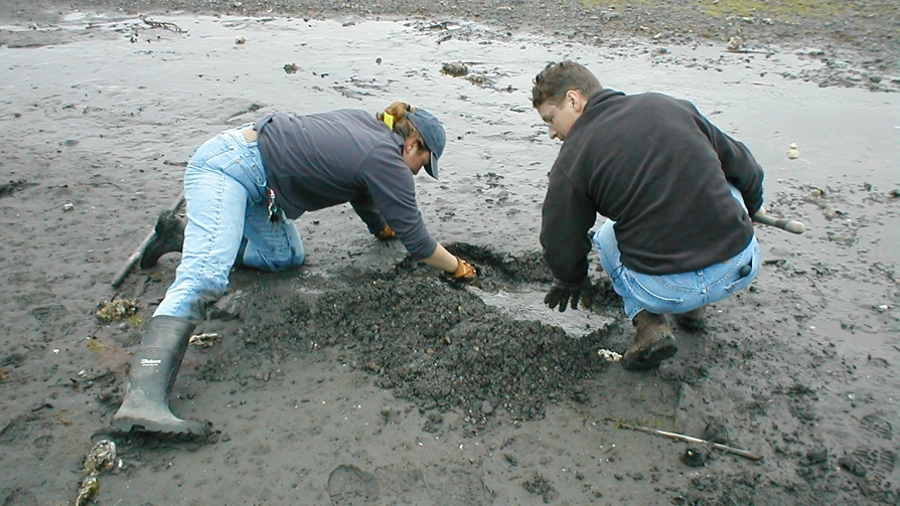
The learning curve for clamming is blessedly short. Here are some tips and important basics.
There are several types of clams available on Washington public beaches, including littleneck (also called steamers), horse and butter clams, geoducks (the world’s biggest burrowing clam) and razor clams (see below).
The daily personal limit for all marine clams is up to 40 clams, but not to exceed 10 pounds in the shell. In addition, horse clams have a separate daily limit of seven, and you are allowed three geoducks daily (the first three dug).
Clam digging tips
Follow the clammers. First, look for people on the beach who are successfully harvesting clams. This is the stretch of beach where you should start digging. Each type of clam lives along a certain band of the beach and at a certain depth. The Washington Shellfish Trail has a helpful guide to species.
Look for the show. Before you start digging, look for a hole or dimple in the sand or mud. This is called the “clam show” and it means the clam has withdrawn its neck after feeding and started to dig back down in the sand. Sometimes water or sand squirts out of a hole when you walk near it. That marks the spot where you begin digging. Steamer clams are just 2–4 inches below the surface, while butter clams are 1 foot deep, and horse clams are roughly 1.5 feet deep. (You’ll need that shovel for these deeper clams.)
Measure. Measure each clam with your gauge; some clams need to be a certain size to take them home with you. To make sure the clams you keep are of legal size, test them by using the shellfish gauge. If they do not fall through the hole on the shellfish gauge, they are legal. Place ones that are too small back in the muck. Count your limit; the counting task is a great way to involve your younger children.
Involve the kids. Depending on their age, kids can participate by throwing clams in the bag, measuring or counting—or simply playing on the beach, says Speck. “We want to create responsible future shellfishers, but they should be enjoying themselves, too.”
Fill each hole. After you are done digging and harvesting, fill the hole. Some clam species need the holes filled for survival, and the humans on the beach need the holes filled so they don’t trip and possibly fall.
Pack the clams to take home. On clamming days, you may meet a WDFW staff person counting limits in the beach parking lot. After you have had your limits counted, fill your bucket with salt water for the drive home. “Cover your clams with at least 6 inches of water and keep it cold. Float a cooler pack in it on hot days,” says Speck. “The clams need a minimum of four hours in this water to purge their bodies of grit and sand.” She likes to purge her clams overnight.
Let them spit. Once the clams have purged, Speck likes to wrap them in a wet dishcloth, put them in a colander with a container underneath it to catch water, and place them in the fridge overnight, so the clams can spit out more water. She prefers to cook the first portion of her harvest the next day. My family always eats some of our catch on our first day out. And you can cook the clams right there on the beach. Preparing clams is easy, and the internet has a plethora of recipes.
Shelf life. Speck recommends eating Manila clams within three days of harvesting. Butter clams and horse clams each need a rubber band around them for fridge storage (and the same dishcloth arrangement), and they should be cleaned or eaten within 24 hours. Clam meat can be frozen for later use.
Razor clamming 101
Razor clamming is different from other clamming. The season opens in October every year and stays open until sometime in May, depending on the strength of the populations, levels of marine toxins and the tides. Parent Jim Mattison, who has a vacation home near Pacific Beach, says razor clam digs are a blast, full of camaraderie. “It’s quite the spectacle, with everyone on the beach talking to each other.”
The Long Beach Razor Clam Festival, the key razor clamming event of the season, occurs May 10–11, 2024.
Tides and times for razor clamming. During the fall and winter, the low tides are in the evening, so people start as the light fades from the sky and finish in the dark with lanterns lighting the digging. In the spring, the low tides are in the morning, making for easier daylight digging (although the dig may start before the sun rises, depending on the time of low tide). Check the WDFW site for razor clam dig days for this April and May.
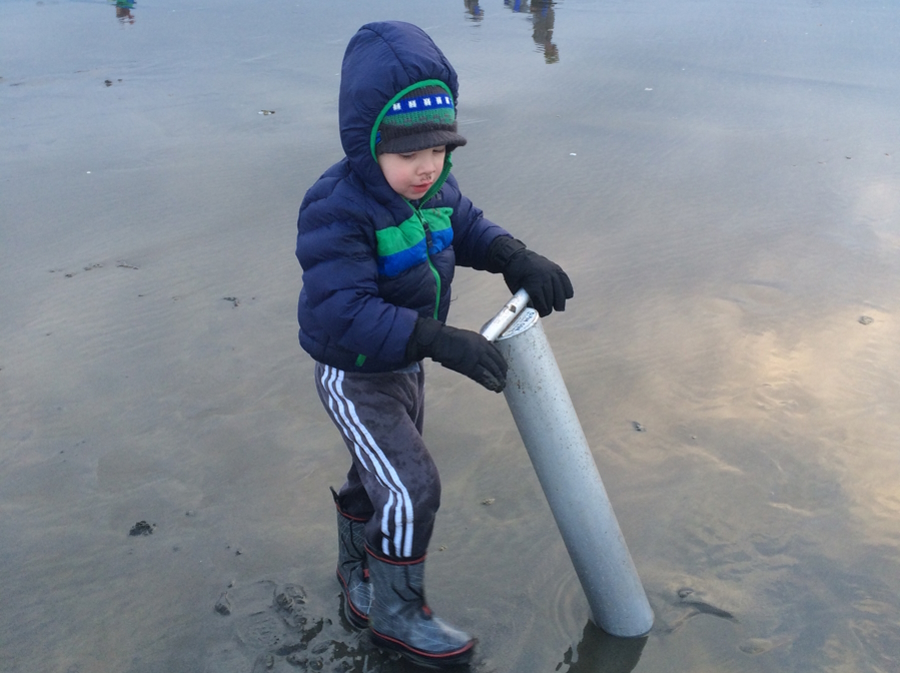
Tools. Tools include a specialized digging tool, either a PVC tube or an aluminum tube that brings up a core of sand. “You repeat this a time or two and you find the razor clam inside the sand,” says Matthew George, WDFW’s coastal shellfish manager.
George says the other vital piece of knowledge for razor clam digging is where to dig, based on the clam show. “They show differently every day. Sometimes the divot in the sand is the size of a quarter and sometimes it is only a slight indent. Look around. Just ask people. They are more than happy to show you.”
Limits. The daily limit for razor clams is the first 15 dug up, regardless of size or condition, and each limit must be in a separate container. You can learn how to shuck the clams and take out the digestive material on the WDFW website, where you will also find plenty of recipes. Or just ask one of the hundreds of people on the beach for instructions.
9 great clamming beaches around Puget Sound
So, now you know how to clam. But where to go?
There are many ways to find a great clamming beach. The WDFW website has excellent beach-locating tools. Find a beach by looking at the map.
Once you’ve identified a beach, check two websites to see if a beach is open. The WDFW opens beaches based on historical and projected recreational use patterns and the abundance of shellfish populations. The Department of Health (DOH) evaluates the population to ensure it’s safe for humans to eat.
Here is a list of family-friendly Puget Sound beaches for clamming, meaning they are relatively easy to walk on and have bathroom facilities. Check the websites for proposed clamming dates for this year and to see if you will need a Discover Pass.
Indian Island County Park
At this park, Lagoon Beach is a great place for kids to play and for clamming. This beach is close to Port Hadlock and Port Townsend.
Quilcene Bay WDFW Tidelands
This beach on Hood Canal has pit toilets near the northernmost parking lot, but access to clamming is through the south parking lot via a gravel access trail. Although this isn’t the most scenic beach, small clams are plentiful here.
Duckabush
Look for elk and bald eagles while clamming on this beautiful WDFW tideland. There are no restrooms, but Dosewallips State Park, which does have restrooms, is just a few miles north of here.
North Bay
This South Sound beach has an abundant clam population and a planted oyster bed, but clammers should arrive early. There is very limited parking, with no parking allowed on the shoulder.
Birch Bay State Park
This huge beach in Whatcom County has a wide variety of shellfish for harvest, including littleneck, Manila, butter, and horse clams.
West Penn Cove
This Whidbey Island beach has cockle and butter clams, mussels and two planted oyster beds. Visit historic Coupeville while you’re there.
Twanoh State Park
Near Belfair at the tip of Hood Canal, this beautiful beach has camping, a boat ramp and a swimming area.
Dosewallips State Park
Some people consider this beach the holy grail of clamming in the Pacific Northwest, with one of our state’s largest and most productive tidelands. Make it an overnight outing by booking a campground site.
Penrose Point State Park
Not only has this beach been planted with Manila clams and oysters, it’s also home to littleneck, butter, horse and eastern softshell clams. It’s also a great spot to take in views of Mount Rainier.
More outdoor family adventures |
Editor’s note: This article was originally published several years ago and was most recently updated with new information in March 2024.


